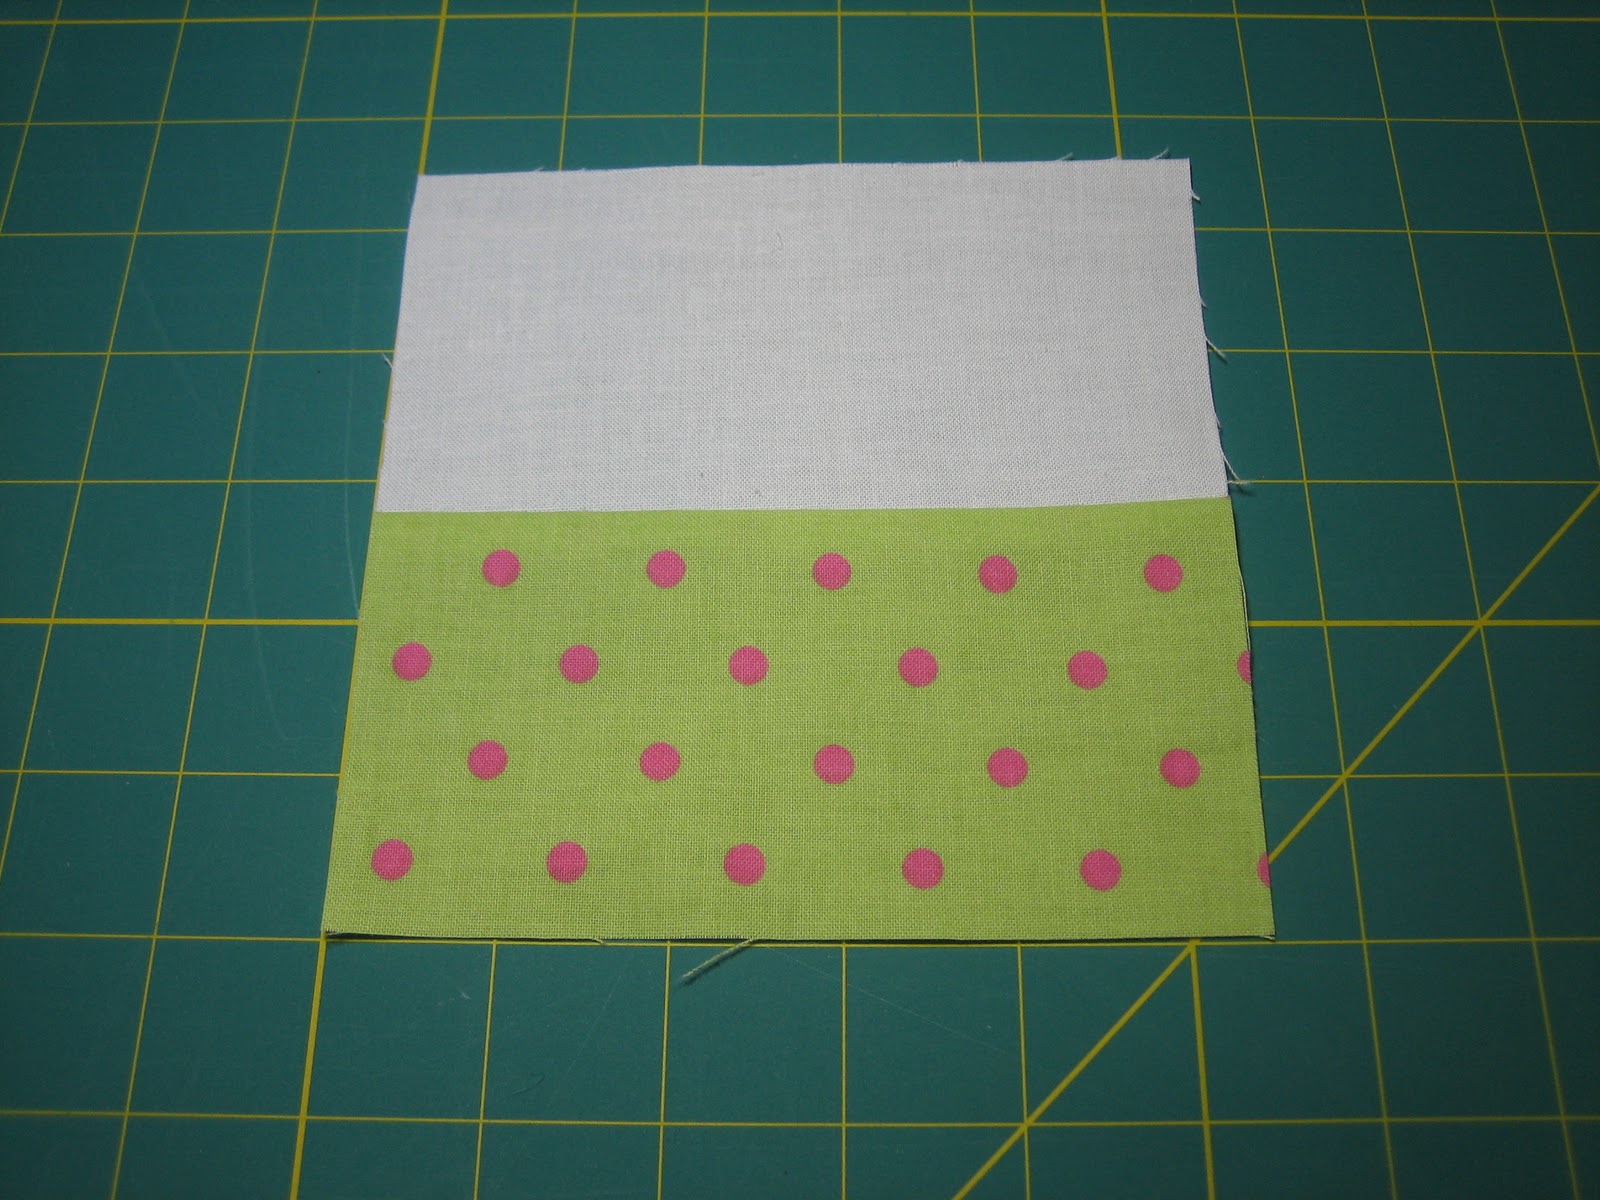
I am so excited. I sold my first quilt on Etsy...both my first quilt sale and my first quilt. This one, the disappearing nine-patch.
I was starting to think that I would only be able to sell season-themed table runners. Not that I mind sellign those, I just don't have the passion to make them as I do a quilt. After selling it, I started to have seller's remorse, after all, it was my first quilt. But I know it went to a good home and they will love it too!
"Our lives are streams flowing into the same river towards whatever heaven lies in the mist beyond the falls."
Search This Blog
Showing posts with label quilting. Show all posts
Tuesday, January 3, 2012
Monday, October 3, 2011
A Wright-like table runner
Made a new table runner and it reminds me of Frank Lloyd Wright.
It's simple and geometric...even the quilting.
The border is a deep navy blue and I used the bright yellow for the binding.
I am putting it up for sale on etsy.
Sunday, September 11, 2011
Halloween Table Runner
Made a table runner for Halloween. Hubby thinks it may be too "country". I kinda agree, but, on the other hand, you could say it just looks thematic. I wanted to try some applique. A couple of months ago I tried to make 2 monogrammed bibs for Trey and Sandy's twins.....terrible results. I had no idea how to monogram. So I did a bit of reading and I think the table runner isn't a bad first attempt.
I think I'm getting close to having enough stuff to start an etsy shop. I can't say that any of my pottery will be good enough to try to sell. But I think I may have a shot with the quilting.....really need to figure out how to make a banner for the shop. I've forgotten everything I learned when I made Natalie's quilt. lol
Sunday, September 4, 2011
The Happiness Quilt
My newest quilt was made with several Hullabaloo by Urban Chiks for Moda fabrics. I didn't use the prints that were geared more for babies...like the animal prints. I love the florals, zigzags and dots...used several of those. In my fabric stash I found several prints that also work well with the Hullabaloo fabrics. Different kona solids were used as sashing. I am so, so happy with the final product....especially the back, which is all solids.
I added the bojo label on it....thank you Boone and Jordan. I call this my Happiness Quilt.
Tuesday, June 21, 2011
Natalie's Quilt
As I was sewing these blocks together I wasn't sure I was liking the color combination. However when I was through, I stepped back and looked at it...I really like it. I hope Natalie likes it too.
Monday, June 13, 2011
Natalie's quilt
One of my daughter's friends just graduated from Virginia Tech in Architecture and I thought I'd make her a lap quilt as a graduation gift. This is the perfect opportunity (like I need a reason) to make my first solids quilt. Natalie loves gray, so this is the palette I chose:
The colors from top to bottom are: Kona Coal, Country Classics Gray, Kona Ash, somebody's light teal, Connecting Thread's Cornflower, Kona White, and Connecting Thread's Brick.
Next choice was the pattern. I wanted to do some sort of log cabin with wonky squares. I couldn't find a pattern online, but in the search process I found a great tutorial about how to use Photoshop to design a quilt. Well...that sounded like a wonderful idea. Use this link to find this tutorial: http://www.freshlemonsquilts.com/?p=901
It was so much easier than I expected. What a nice surprise. I decided to make a quilt that was 4 blocks by 5 blocks with each block being 12 inch squares. I made 2 basic blocks and just rotated them and changed the color combination to make them unique. Here is the quilt I ended up with using the palette I picked. Pretty good, huh?
Today I cut out all my fabrics. I made WOF strips based on the Photoshop dimensions and cut them into the proper size. Here is an example of the pieces making up the first block:
So now I will keep my fingers crossed that I did all my measurements correctly. We'll see when I begin sewing tomorrow.
Monday, January 17, 2011
Happy Birthday!
Today is my sweetheart's birthday! I love you hubby. Another incredible year has passed and I'm so lucky to have you at my side. Together we can get through anything!
So, the Zig Zag quilt is complete! I really, really love it. Is that terrible to say about your own work? I just keep looking at it and congratulating myself on my first officially completed quilt. (I still haven't quilted the one I did through Care's blog. But now I have the courage to do it.) It's about 45" x 45"...perfect for someone's sweet little one. Here are the photos.
Friday, January 7, 2011
Zig zag Quilt continued
I've finally had a chance to work on the zigzag quilt again. I just realized that I didn't list the supplies I used for this project:
7 one quarter yard cuts of print fabrics
1 1/4 yds white fabric
1/2 yd binding fabric
1 1/3 yd backing fabric
warm and natural batting
As I said in the previous post, I worked diagonally down this quilt, first sewing the squares together into strips and then sewing the strips together. Sounds easy (and it is), but I learned a lot doing this. Especially that I need to work on my 1/4 inch seams! How can something so simple torment me so? The seam ripper and I became fast friends. Stitching the first 4 strips together was going ok, but then all the sudden my seams weren't lining up and I could see it getting worse as I progressed. I started using a straight edge to make sure that the lines were staying (relatively) straight. So, the quilt top isn't exactly the way I would like, but as long as I learned something I am good with it.
The other thing I highly, highly recommend is keeping the iron at your side. Press, press, press all the seams as you sew them, but being careful not to distort the shape of the project. Press the seams in alternating directions (square to square AND strip to strip). Misting the fabric lightly seemed to really help with the pressing.
Here is the quilt top after sewing all the strips together.
The next thing I did was trim all the sides of the quilt top. The final size of the quilt top is about 46"x46". I'm not sure if this is a good crib quilt size. I need to look that up sometime.
For the backing, I cut a 50", WOF piece of the pink fabric. Because it is only 44" wide, I needed to add a strip of about 3" wide pieced fabrics. (This is where I used the leftover strips from when I cut the 5.5" squares.) I cut the backing width-wise (it doesn't really matter where) and attached the strip. Here is the finished backing.
So, now I'm ready to assemble the quilt...too bad I didn't realize that I was out of batting. Guess I'm due another trip to JoAnn's. :)
7 one quarter yard cuts of print fabrics
1 1/4 yds white fabric
1/2 yd binding fabric
1 1/3 yd backing fabric
warm and natural batting
As I said in the previous post, I worked diagonally down this quilt, first sewing the squares together into strips and then sewing the strips together. Sounds easy (and it is), but I learned a lot doing this. Especially that I need to work on my 1/4 inch seams! How can something so simple torment me so? The seam ripper and I became fast friends. Stitching the first 4 strips together was going ok, but then all the sudden my seams weren't lining up and I could see it getting worse as I progressed. I started using a straight edge to make sure that the lines were staying (relatively) straight. So, the quilt top isn't exactly the way I would like, but as long as I learned something I am good with it.
The other thing I highly, highly recommend is keeping the iron at your side. Press, press, press all the seams as you sew them, but being careful not to distort the shape of the project. Press the seams in alternating directions (square to square AND strip to strip). Misting the fabric lightly seemed to really help with the pressing.
Here is the quilt top after sewing all the strips together.
The next thing I did was trim all the sides of the quilt top. The final size of the quilt top is about 46"x46". I'm not sure if this is a good crib quilt size. I need to look that up sometime.
For the backing, I cut a 50", WOF piece of the pink fabric. Because it is only 44" wide, I needed to add a strip of about 3" wide pieced fabrics. (This is where I used the leftover strips from when I cut the 5.5" squares.) I cut the backing width-wise (it doesn't really matter where) and attached the strip. Here is the finished backing.
So, now I'm ready to assemble the quilt...too bad I didn't realize that I was out of batting. Guess I'm due another trip to JoAnn's. :)
Sunday, January 2, 2011
Zig Zag Quilt, Day 2
So today I sewed a white strip to each of the patterned strips and then laid them out to find a nice order to them.
I wasn't completely sold on the order, but I knew I wanted the bright pink print in the middle,
The next step is to cut each of these strips into squares. The strips are 5 1/2" wide....so I'm cutting 5 1/2" squares. And, darn, if I didn't start daydreaming and cut a couple of strips only 5". Oops, well, thank goodness I had some extra fabric. I ended up with 14 squares of each print.
Then I got to put my new design wall to use! My parents gave me this for Christmas and it came in so handy! I started at the upper left, made a zigzag pattern with the first fabric, and then continued with each of the other squares. You turn each square 90 degrees to make the zigzag pattern. Another thing I like about laying out the squares on the design wall is that I could easily move them around to match sizes....since apparently my 1/4" seams aren't very consistent. (I think I may need to invest in a 1/4 inch piecing foot.) Oops, notice the 5" square on the far right, second row. I didn't realize that one was cut wrong until I put it up on the wall. It's been replaced now.
Time to sew this quilt top together. You sew diagonally rows, so starting on the upper right, I sewed the last two pink plaid squares together. Then I sewed the four squares together that are to left of it diagonally. I tried to separate the sections in this photo to give you an idea of how I went through the process. I left the squares on the design board until I was ready to sew them so I wouldn't get the order and arrangement messed up.
By the fourth diagonal, I was piecing 8 squares together. I thought it may be better to sew the upper 4 together, then the lower 4 squares, and finally sewing these two strips together. I only got as far as the fourth diagonal today, but things are looking good. Will continue tomorrow.
Saturday, January 1, 2011
First quilting project of 2011
We returned from Christmas in Texas and I could hardly contain my excitement about going to JoAnn's Fabrics to pick up fabrics for my first project of 2011. I love to see what colors seem to call out to me and today it was pink and green. I bought several 1/4 yard cuts of fabrics and headed back home to decide what I should make with them.
The pinks seem to scream little girl, so I think I'll make a zig-zag baby quilt in pink and green with white sashing between the zigs (or the zags). I hand-wrote the instructions for a zig-zag quilt many, many moons ago. This was before I had planned to do this blog, so I am unable to give proper credit for this tutorial...but I am gonna write it all here. I've decided to only use only 7 of the printed fabrics, so 3 of them get to be saved for another day. :) Today, I cut two 3" wide, WOF strips from each fabric and 14 similar strips of the white fabric.
I'm going to use the solid pink for binding and the pink fabric that is second from the right as the backing. That's all for today on this project....will continue tomorrow.
Thursday, December 9, 2010
My First Quilt
About 3 years ago, my husband, parents and in-laws spent waaayy toooo much money on a new sewing machine for me. It's a Bernina Aurora 430. It does things I don 't even know I want to learn about. I took a class to learn how to use it, but never really used it for anything other than mending and making window treatments. So, about 5 weeks ago, I was just looking through various blogs when I came across one called Obsessively Stitching by a super talented woman named Care. Care had posted a tutorial called First Quilt Ever.
She was going to teach how to make a quilt.....step by step. It was several months old, so I could read all the steps at once and I was immediately hooked! I just had to try making a quilt. So, following her instructions, off I went to JoAnns. I didn't even know where one was, but lo and behold, one is only 2 miles from my house, right next to one of my favorite stores, T J Maxx. Who knew? So these are the fabrics I brought home. I heeded her instructions and didn't buy any stripes or plaids.
I dove in and following Care's super good, easy-peasy directions I was on my way. I did take some pics along the way, not even really knowing what I'd do with them. And, boy, I'm glad I did, cuz now I can post them.
Here is one of my block assemblies:
Unfortunately, I don't have any other pictures until I assembled the top. But, believe me, it was as simple as pie. I had no idea how all those little squares and rectangles were made.
Here's the strip for the backing, but I don't actually have a picture of the final backing:
Then I had a problem. Care suggested that I tape the backing, batting, top assembly to a tile floor so I could pin-baste it. The problem is that every room in my house is either carpeted (that wouldn't work because I would end up pinning the quilt to the carpet) or has hardwood floors (imagine the scratches if I pinned on that!)....except the bathrooms. So, there I was trying to tape this quilt to my bathroom floor. I mean it took up almost the entire space... I had to crawl under the counter to get to one side of the quilt in order to pin. Note the quilt taped right next to the lovely shower and cabinets. lol. :)
Anyway, I finally succeeded in pinning the quilt. Oh, and by the way, Care doesn't warn you how much your knees will hurt after kneeling on that tile.
Then I froze. I didn't have the courage to do the machine quilting. So, the whole assembly is still sitting on the guest room bed waiting for me to get my confidence up to quilt it. I decided to make a little autumn runner first and quilt it. Good thing I did because I did mess up in the quilting. I didn't realize that part of the backing got folded over. I don't think you can fix that, but I've heard that once you wash a quilt you may not notice it as much. Then I decided to make the Christmas table runner. I didn't mess up on that, but it was straight line stitching with a walking foot, so it wasn't a problem.
Anyway, thanks to Care, I'm now eager to do more quilting/sewing projects. So, Santa, if you're listening, please bring this girl some fabrics and notions this year.
Joy and Peace,
kelly
She was going to teach how to make a quilt.....step by step. It was several months old, so I could read all the steps at once and I was immediately hooked! I just had to try making a quilt. So, following her instructions, off I went to JoAnns. I didn't even know where one was, but lo and behold, one is only 2 miles from my house, right next to one of my favorite stores, T J Maxx. Who knew? So these are the fabrics I brought home. I heeded her instructions and didn't buy any stripes or plaids.
I dove in and following Care's super good, easy-peasy directions I was on my way. I did take some pics along the way, not even really knowing what I'd do with them. And, boy, I'm glad I did, cuz now I can post them.
Here is one of my block assemblies:
Unfortunately, I don't have any other pictures until I assembled the top. But, believe me, it was as simple as pie. I had no idea how all those little squares and rectangles were made.
Here's the strip for the backing, but I don't actually have a picture of the final backing:
Then I had a problem. Care suggested that I tape the backing, batting, top assembly to a tile floor so I could pin-baste it. The problem is that every room in my house is either carpeted (that wouldn't work because I would end up pinning the quilt to the carpet) or has hardwood floors (imagine the scratches if I pinned on that!)....except the bathrooms. So, there I was trying to tape this quilt to my bathroom floor. I mean it took up almost the entire space... I had to crawl under the counter to get to one side of the quilt in order to pin. Note the quilt taped right next to the lovely shower and cabinets. lol. :)
Anyway, I finally succeeded in pinning the quilt. Oh, and by the way, Care doesn't warn you how much your knees will hurt after kneeling on that tile.
Then I froze. I didn't have the courage to do the machine quilting. So, the whole assembly is still sitting on the guest room bed waiting for me to get my confidence up to quilt it. I decided to make a little autumn runner first and quilt it. Good thing I did because I did mess up in the quilting. I didn't realize that part of the backing got folded over. I don't think you can fix that, but I've heard that once you wash a quilt you may not notice it as much. Then I decided to make the Christmas table runner. I didn't mess up on that, but it was straight line stitching with a walking foot, so it wasn't a problem.
Anyway, thanks to Care, I'm now eager to do more quilting/sewing projects. So, Santa, if you're listening, please bring this girl some fabrics and notions this year.
Joy and Peace,
kelly
Wednesday, December 8, 2010
Christmas Table Runner
I saw this really cute, cute Halloween table runner on this great blog, Pleasant Home. Here is the link. Isn't it the greatest quilted pumpkin runner you ever saw?
As soon as I saw it I knew I wanted to try to make a Christmas one for myself. Problem is I have only made 2 quilted pieces and they had instructions. For this one, I was going to have to figure it out all by my little lonesome self. I wanted to use a solid white background just like the Halloween one and put 3 wonky Christmas trees on it. These are the fabrics I chose:
I used the 3 prints to cut out the trees.That was a learning experience in itself. I had only worked with squares and rectangles, so I didn't know that I would need to make thelower section larger than the one above it. Oops, I've already forgotten what I learned. I needed to make the lower section smaller than the one above it. See the photo. That way, when I sewed them together, I ended up with nice triangles.
Then, the second challenge was to figure out how to attach the white background. I worked in 3 sections, one for each Christmas tree. So, first I cut a piece of white for the left hand side of the tree and attached it...not hard. Then I cut one for the right hand side of the tree. It took a lot of trial and error to figure out how to add the seam allowances. For the white section that has the tree trunk, I could never figure out how to sew the trunk into the white fabric....I ended up appliquing it onto that section. Lastly, I sewed the tree section to the trunk section. I kind of wanted it to end up more off-center to emphasize the wonkiness, but it's alright.
Then I sewed all three trees together.Things that I needed to be careful of: making the horizontal seams nice and straight and parallel, making the vertical seams vertical, evenly spacing the trees, and having about the same amount of white fabric outside the outer trees.
Then I cut batting and backing fabric about two inches larger than the front. I loved how the pumpkin runner was quilted in straight lines, alternating the direction of each section. So, I decided to quilt the outer trees horizontally and do the middle section vertically. The quilt lines are about 3/4 inches apart. I used the same backing fabric for the binding, but made it kinda scrappy by inserting small sections of the tree fabrics. Here is the final product:
Oh, and, noone told me I'd need a walking foot to quilt this. This wasn't included in my fancy, dancy sewing machine. So, I called the local Bernina shop to ask how much they were. I almost had a heart attack. I had no idea an attachment could cost so much. But they did have a 25% coupon, so I guess I just suffered a stroke.
I like the runner, but there is one problem I should have thought about. I didn't wash the red backing fabric beforehand and it bleeds when wet.....SO, I guess I will never be able to wash this runner....need to keep my fingers crossed that noone spills on it. lol.....oh well, it was a fun learning experience.
Joy and Peace,
Kelly
As soon as I saw it I knew I wanted to try to make a Christmas one for myself. Problem is I have only made 2 quilted pieces and they had instructions. For this one, I was going to have to figure it out all by my little lonesome self. I wanted to use a solid white background just like the Halloween one and put 3 wonky Christmas trees on it. These are the fabrics I chose:
I used the 3 prints to cut out the trees.That was a learning experience in itself. I had only worked with squares and rectangles, so I didn't know that I would need to make the
Then, the second challenge was to figure out how to attach the white background. I worked in 3 sections, one for each Christmas tree. So, first I cut a piece of white for the left hand side of the tree and attached it...not hard. Then I cut one for the right hand side of the tree. It took a lot of trial and error to figure out how to add the seam allowances. For the white section that has the tree trunk, I could never figure out how to sew the trunk into the white fabric....I ended up appliquing it onto that section. Lastly, I sewed the tree section to the trunk section. I kind of wanted it to end up more off-center to emphasize the wonkiness, but it's alright.
Then I sewed all three trees together.Things that I needed to be careful of: making the horizontal seams nice and straight and parallel, making the vertical seams vertical, evenly spacing the trees, and having about the same amount of white fabric outside the outer trees.
Then I cut batting and backing fabric about two inches larger than the front. I loved how the pumpkin runner was quilted in straight lines, alternating the direction of each section. So, I decided to quilt the outer trees horizontally and do the middle section vertically. The quilt lines are about 3/4 inches apart. I used the same backing fabric for the binding, but made it kinda scrappy by inserting small sections of the tree fabrics. Here is the final product:
Oh, and, noone told me I'd need a walking foot to quilt this. This wasn't included in my fancy, dancy sewing machine. So, I called the local Bernina shop to ask how much they were. I almost had a heart attack. I had no idea an attachment could cost so much. But they did have a 25% coupon, so I guess I just suffered a stroke.
I like the runner, but there is one problem I should have thought about. I didn't wash the red backing fabric beforehand and it bleeds when wet.....SO, I guess I will never be able to wash this runner....need to keep my fingers crossed that noone spills on it. lol.....oh well, it was a fun learning experience.
Joy and Peace,
Kelly
Sunday, November 28, 2010
A Flowing Stream
The quote under my profile is from the movie "The Bucket List". My life is a stream that sometimes flows quickly, the waters swirling so rapidly that I feel I am drowning. Other times my life feels almost like stagnant waters, slow flowing and thick with scum. I am searching for ways to keep my life flowing free, fresh and clear.
The past year I've taken up yoga, quilting and pottery. Each of these activities have brought me considerable joy and peace. But as 2010 comes to a close and I turn 51, I realize that my waters are pretty murky and I haven't been able to hold onto those comforting feelings.
So, I've decided to use a blog to help me reflect on my journey. Maybe by posting some of my thoughts, projects and activities, I can help still the waters as I flow towards that mist beyond the falls. Or, depending on where I am, get the waters moving again.
I leave with two questions....Have you found joy in your life? Has your life brought joy to others?
Wishing all joy and peace,
Kelly
The past year I've taken up yoga, quilting and pottery. Each of these activities have brought me considerable joy and peace. But as 2010 comes to a close and I turn 51, I realize that my waters are pretty murky and I haven't been able to hold onto those comforting feelings.
So, I've decided to use a blog to help me reflect on my journey. Maybe by posting some of my thoughts, projects and activities, I can help still the waters as I flow towards that mist beyond the falls. Or, depending on where I am, get the waters moving again.
I leave with two questions....Have you found joy in your life? Has your life brought joy to others?
Wishing all joy and peace,
Kelly
Subscribe to:
Posts (Atom)