Search This Blog

Showing posts with label How did I do that?. Show all posts

Friday, January 7, 2011

Zig zag Quilt continued

I've finally had a chance to work on the zigzag quilt again.  I just realized that I didn't list the supplies I used for this project:
7 one quarter yard cuts of print fabrics
1 1/4 yds white fabric
1/2 yd binding fabric
1 1/3 yd backing fabric
warm and natural batting

As I said in the previous post, I worked diagonally down this quilt, first sewing the squares together into strips and then sewing the strips together.  Sounds easy (and it is), but I learned a lot doing this.  Especially that I need to work on my 1/4 inch seams!  How can something so simple torment me so?  The seam ripper and I became fast friends.  Stitching the first 4 strips together was going ok, but then all the sudden my seams weren't lining up and I could see it getting worse as I progressed.  I started using a straight edge to make sure that the lines were staying (relatively) straight.  So, the quilt top isn't exactly the way I would like, but as long as I learned something I am good with it.

The other thing I highly, highly recommend is keeping the iron at your side.  Press, press, press all the seams as you sew them, but being careful not to distort the shape of the project.  Press the seams in alternating directions (square to square AND strip to strip).  Misting the fabric lightly seemed to really help with the pressing.

Here is the quilt top after sewing all the strips together.


The next thing I did was trim all the sides of the quilt top.  The final size of the quilt top is about 46"x46".  I'm not sure if this is a good crib quilt size.  I need to look that up sometime.


For the backing, I cut a 50", WOF piece of the pink fabric. Because it is only 44" wide, I needed to add a strip of about 3" wide pieced fabrics.  (This is where I used the leftover strips from when I cut the 5.5" squares.)   I cut the backing width-wise (it doesn't really matter where) and attached the strip.  Here is the finished backing.

So, now I'm ready to assemble the quilt...too bad I didn't realize that I was out of batting.  Guess I'm due another trip to JoAnn's.  :)

Sunday, January 2, 2011

Zig Zag Quilt, Day 2

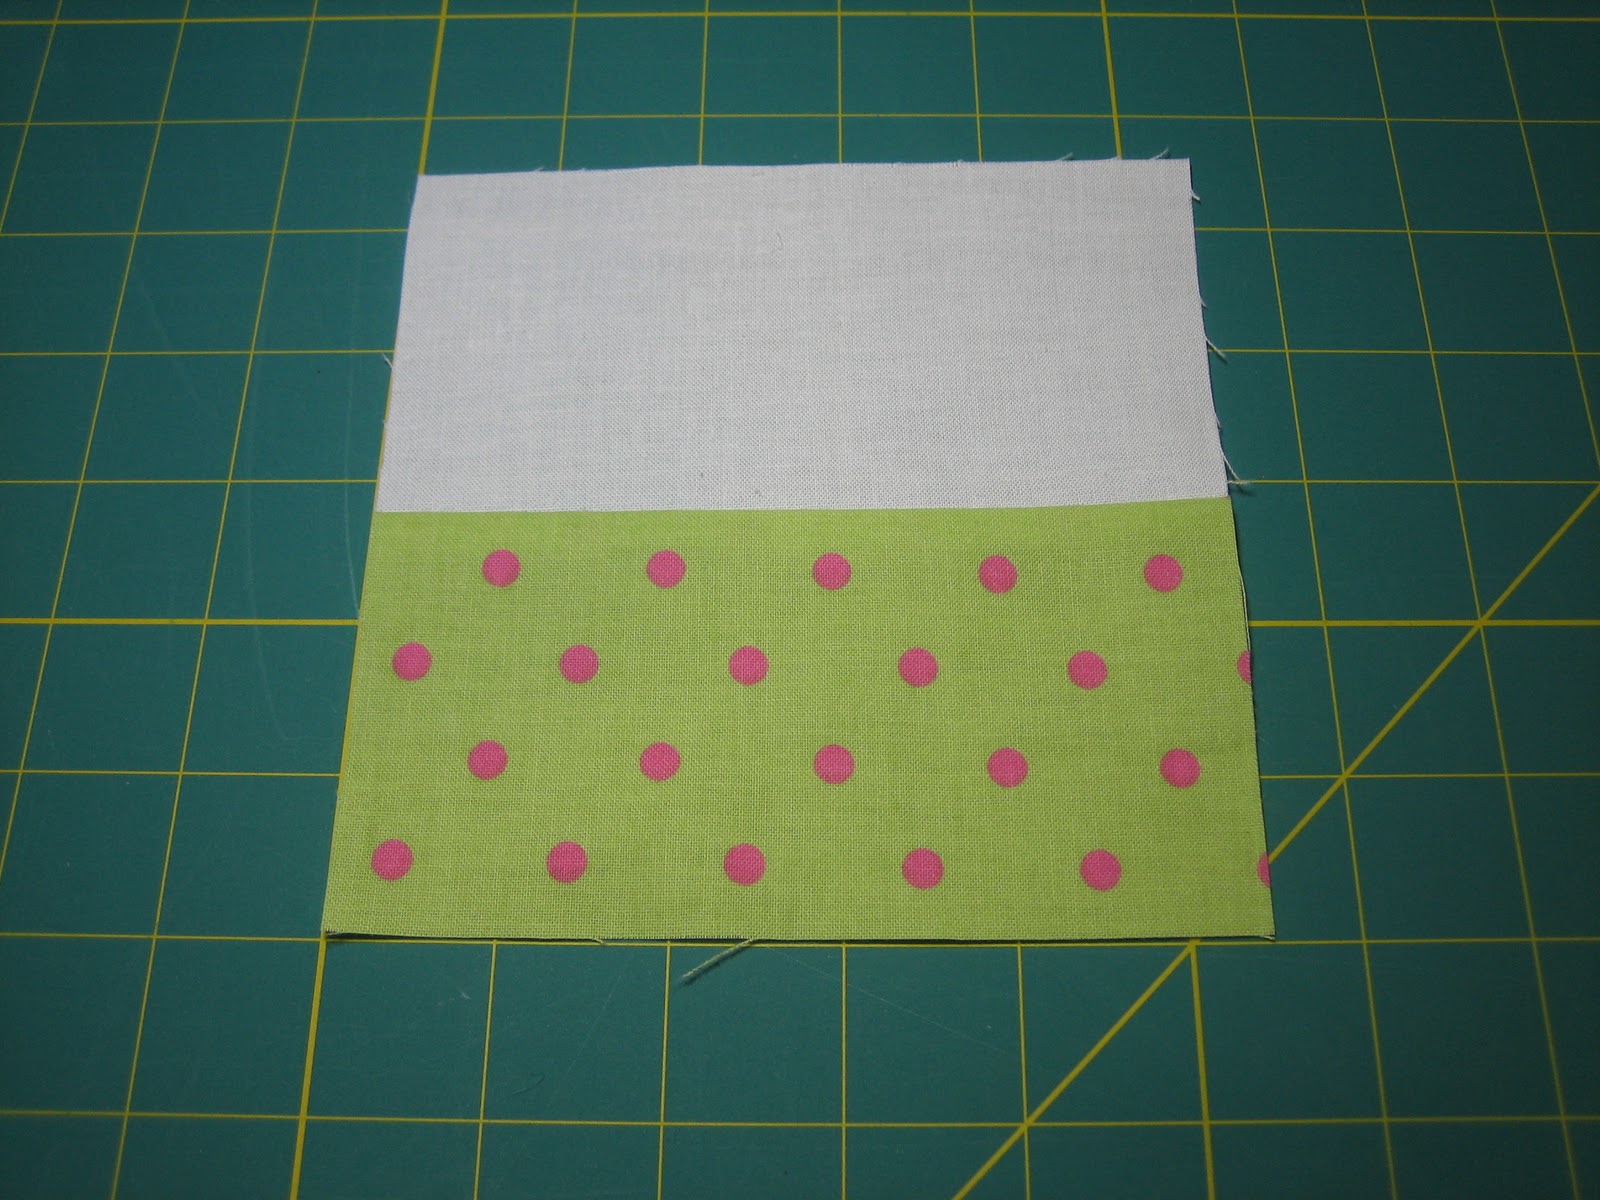
So today I sewed a white strip to each of the patterned strips and then laid them out to find a nice order to them.
I wasn't completely sold on the order, but I knew I wanted the bright pink print in the middle,
The next step is to cut each of these strips into squares.  The strips are 5 1/2" wide....so I'm cutting 5 1/2" squares.  And, darn, if I didn't start daydreaming and cut a couple of strips only 5".  Oops, well, thank goodness I had some extra fabric.  I ended up with 14 squares of each print.


Then I got to put my new design wall to use!  My parents gave me this for Christmas and it came in so handy!  I started at the upper left, made a zigzag pattern with the first fabric, and then continued with each of the other squares.  You turn each square 90 degrees to make the zigzag pattern.  Another thing I like about laying out the squares on the design wall is that I could easily move them around to match sizes....since apparently my 1/4" seams aren't very consistent.  (I think I may need to invest in a 1/4 inch piecing foot.)  Oops, notice the 5" square on the far right, second row.  I didn't realize that one was cut wrong until I put it up on the wall.  It's been replaced now.

Time to sew this quilt top together.  You sew diagonally rows, so starting on the upper right, I sewed the last two pink plaid squares together.  Then I sewed the four squares together that are to left of it diagonally. I tried to separate the sections in this photo to give you an idea of how I went through the process.  I left the squares on the design board until I was ready to sew them so I wouldn't get the order and arrangement messed up.

By the fourth diagonal, I was piecing 8 squares together.  I thought it may be better to sew the upper 4 together, then the lower 4 squares, and finally sewing these two strips together.  I only got as far as the fourth diagonal today, but things are looking good.  Will continue tomorrow.